
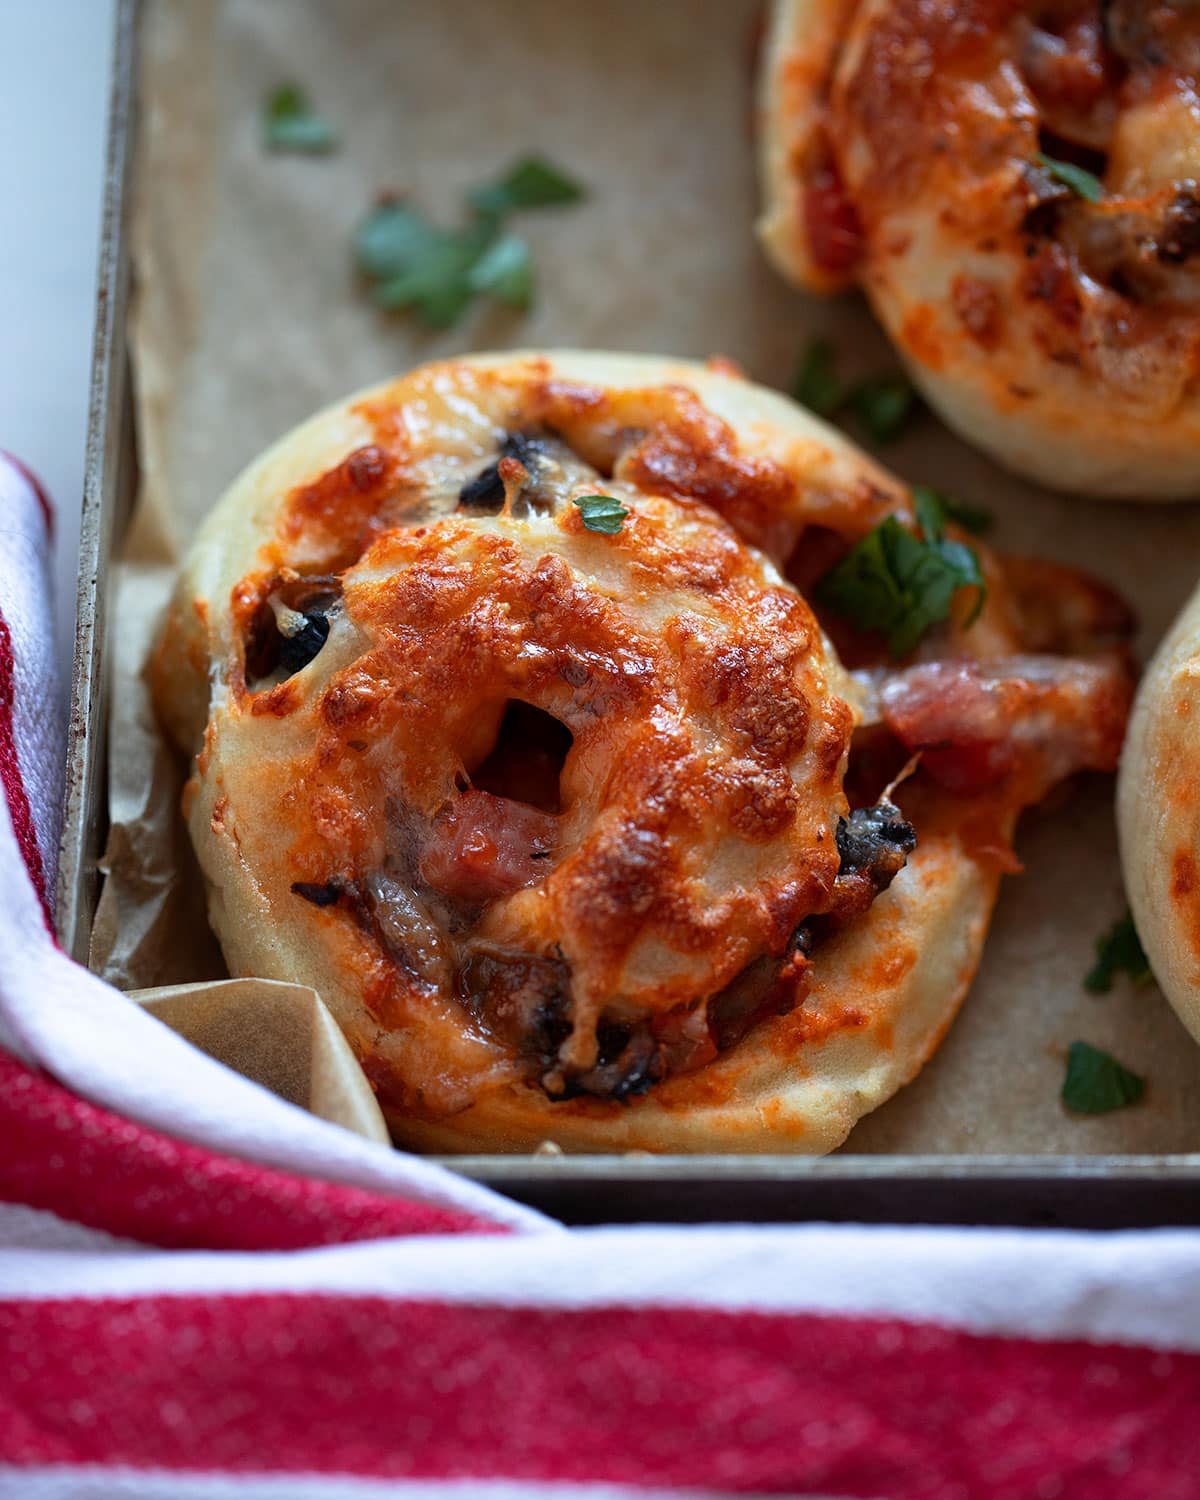
Bring homemade pizza rolls with dough to the table, and everyone will love you forever! I have never met anyone who could stop after eating just one of them. And for good reason.

They are deliciously cheesy, tomatoey, and packed with your favorite pizza toppings! They also freeze really well, which is great if you need to stock up on delicious and fun party food.
Don’t overfill
When making homemade pizza rolls with pizza dough, keep the golden rule in mind: don’t overfill them. As with pizza in general, less is more.
- Spread only a thin layer of tomato sauce over the pizza dough. I know that tomato sauce is tasty, but the more you use, the softer the dough will become. If the dough gets too soft, it will tear and the sauce will seep through. It would be nearly impossible to roll the dough into a log in this state. I speak from experience: there is no salvaging this kind of leaky mess!
- Don’t add too many pizza toppings. If you overfill them with other ingredients (like cheese, diced ham, etc.), they will spill out while you roll up the dough. There is also a risk that the pizza rolls won’t cook properly due to the extra weight of the added toppings. I would stick to the quantities written in the recipe card. It’s enough to make your rolls plenty flavorful!
Possible shortcut
If you are short on time, you can use store-bought ready-to-bake pizza dough to make this recipe. The rolls won’t be as puffy and tender, but it will save you a couple of hours. Make sure that the 2 ready-rolled pizza crusts you buy are rectangular.
Unroll the pizza dough on a lightly floured surface and then follow the recipe to fill, shape, and bake the pizza rolls.

Vary the fillings
I sometimes find pizza rolls to be too bready, as if there is too much actual bread to eat before reaching the filling. I then end up thinking that there isn’t enough filling, even though I am French and I do love bread. But this disappointment is now a thing of the past! This recipe has, for me, the perfect ratio of bread to filling. It has my favorite pizza toppings and just enough dough to be considered a “bread” roll.
These are my favorite pizza toppings, but feel free to fill your homemade pizza rolls with whatever toppings you prefer. The sky is the limit! Remember not to spread too much sauce and not to overfill your rolls with whichever delicious fillings you choose. For example, you could make:
- Hawaiian pizza rolls: Swap the mushrooms for ⅔ cup of pineapple chunks.
- Sausage pizza rolls: Swap the mushrooms and diced ham for 8 oz of Italian sausage. Remove the casings and cook in a pan over medium-high heat until browned, about 5 min, breaking the sausage into smaller pieces with a wooden spoon. Let it cool down before sprinkling over the sauce.
- Extra-cheesy pizza rolls: ditch the mushrooms and diced ham, and replace them with 1 cup of shredded mild cheddar and 1 cup of shredded Monterey Jack.
- You can swap the diced ham for diced pancetta, sliced pepperoni, cooked bacon, etc.
Step by step
This is an overview with step-by-step photos. The ingredient list and full instructions are in the recipe card below.
Step 1: Make the dough

Whisk the dry ingredients together in a mixing bowl. Make a well in the center, then pour in the oil and ¾ of the water. Stir together to make a shaggy dough. Add the remaining water, if needed, to gather all the flour in the bowl. Knead on a lightly oiled surface for 10 min. Tip the dough into a greased mixing bowl. Cover with oiled plastic wrap. Leave the dough to rise until doubled in size.
Step 2: Shape

Deflate the dough, then divide it into 2 equal-weight pieces. Roll out one of the pieces of dough into a rectangle, roughly measuring 25*30 cm (10*12 in). Spread half of the sauce over it. Sprinkle half of the filling ingredients over the sauce. Roll up the dough to form a 30 cm (12 in) long cylinder. Cut the cylinder into 8 slices. Place the slices on a lined baking tray. Sprinkle cheese over the top. If you want your homemade pizza rolls to be softer, brush the sides with olive oil. Repeat with the other piece of dough.
Freezing
Homemade pizza rolls are best eaten on the day they are made, so if you want to preserve them at their utmost freshness, freezing is the best option. If you know you are not going to eat them all on the day you bake them, or if you want to prepare them in advance, you can freeze them:
⇨ unbaked: Follow the recipe up to step 4 (recipe card), but instead of baking the pizza rolls, put them onto a baking sheet lined with parchment paper. Make sure the rolls don’t touch one another. Place the sheet in the freezer and freeze the rolls until solid, about 1h. Individually wrap each roll in plastic wrap, then in aluminum foil, and place them in a large freezer bag. You can keep unbaked homemade pizza rolls in the freezer for up to 2 months.
When you want to bake them, unwrap them and place them on a baking sheet (use 2 baking sheets if you are baking more than 8 rolls) lined with parchment paper. Let them sit at room temperature while you preheat the oven to 205°C (400°F). Slide the homemade pizza rolls into the oven and bake for 25 min. I bake mine one tray at a time in the middle of the oven, and I leave the other tray at room temperature in the meantime.
⇨ baked: Once baked and fully cooled, place the rolls on a baking sheet lined with parchment paper. Place the sheet in the freezer and freeze the rolls until solid, about 1h. Individually wrap each roll in plastic wrap, then in aluminum foil, and place them in a large freezer bag. You can keep the baked rolls in the freezer for up to 2 months.
To reheat them, preheat the oven to 175°C (345°F). Place the unwrapped frozen rolls on a baking sheet lined with parchment paper. Sprinkle extra shredded cheese over the tops and bake them until defrosted and reheated throughout, about 25 min. Cover them loosely with aluminum foil if they are over-browning. They will be a bit drier than if you had frozen the homemade pizza rolls before baking them.
Homemade pizza rolls with pizza dough
- Prep Time: 1 hour 25 minutes
- rise: 1 hour
- Cook Time: 40 minutes
- Total Time: 3 hours 5 minutes
- Yield: 16 pizza rolls 1x
- Category: Appetizer
- Method: Oven
- Cuisine: American
Description
Bring homemade pizza rolls with pizza dough to the table and everyone will love you forever! They are deliciously cheesy, tomatoey, and packed with your favorite pizza toppings.
Ingredients
For the pizza dough:
- 455 g bread flour (3 ¼ cups), plus extra for dusting
- 10 g instant yeast (2 ½ tsp)
- ⅔ tbsp caster sugar
- 1 ⅓ tsp fine sea salt
- 35 ml extra-virgin olive oil (2 ½ tbsp), plus extra for oiling the work surface and bowl
- 315 ml lukewarm water (1 ⅓ cups), it shouldn’t be over 42°C (108°F)
For the filling:
- 115 g shredded mozzarella (1 cup)
- 65 g grated parmesan (⅔ cup)
- 115 g canned sliced mushrooms (4 oz), drained weight*
- 140 g shop-bought pizza sauce (5 oz)
- 140 g diced ham (5 oz), or use diced pancetta, sliced pepperoni…
- 2 tsp dried oregano
- 1 tsp fine sea salt
- ½ tsp freshly ground black pepper
Instructions
- Make the pizza dough. Place the flour, yeast, sugar, and salt into a large mixing bowl and whisk briefly to combine. Make a well in the center and pour in the olive oil and three-quarters of the water. Stir together with your hands to make a shaggy dough. Add the remaining water, a little at a time, if needed, to gather all the flour left in the mixing bowl. Rub a little bit of olive oil on your work surface and tip the dough onto it. Knead well for 10 min or until you have a smooth, elastic, still slightly sticky dough that bounces back when pressed with a finger. Tip the dough into a clean, large, lightly greased mixing bowl. Cover the bowl with oiled plastic wrap. Leave the dough to rise until doubled in size, about 1h, in a warm place. I usually preheat the oven to the lowest setting for a couple of minutes, turn the oven off, and place the mixing bowl in there.
- Prepare the filling. Combine the mozzarella and parmesan in a small bowl. Set aside a small handful that you will use to sprinkle over the rolls. Drain the mushrooms and tip them onto a plate lined with two layers of paper towels. Put more paper towels on top to absorb as much moisture as possible.
- Shape the pizza rolls. Line 2 baking trays with parchment paper. Preheat the oven to 200°C (390°F)**. Gently push the dough to deflate it and divide it into 2 equal-weight pieces. Shape the pieces of dough into balls and then flatten them into a rectangular shape. Roll out one of the rectangles on a lightly floured surface into a rectangle roughly measuring 25*30cm (10*12 in). Spread half of the sauce over the dough. Sprinkle half of the sliced mushrooms, diced ham, and seasoning over the sauce. Lastly, top everything with half of the cheese. Tightly roll up the dough, starting from a long edge, to form a 30 cm (12 in) cylinder. Brush off any excess flour that stuck on the dough while rolling. With a sharp knife, cut the cylinder into 8 equal-sized slices. Place the slices, cut side up, on one of the prepared baking trays. Repeat with the other half of the dough. Sprinkle the top of the rolls with the cheese you set aside earlier. If you want your pizza rolls to be softer, lightly brush the sides with a little bit more olive oil.
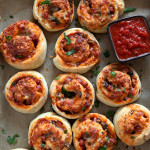
- Bake! Bake the rolls for 20 min until lightly browned on top and underneath. I bake the rolls one tray at a time in the middle of the oven, and I leave the other tray at room temperature in the meantime. Let the rolls cool slightly. Serve them with extra pizza sauce for dipping if desired (I think they are good enough to stand on their own, though).
Notes
* or swap for 4 oz of additional ham/pancetta/pepperoni if you don’t like mushrooms
** 180°C (355°F) if you use a convection oven
The rolls are best eaten on the day they are made but they will keep stored in an airtight container in the refrigerator for up to 4 days. They will dry out a bit over time.
Nutrition
- Serving Size: 1
- Calories: 179
Looking for another appetizer? Here are some of my favorite recipes:


Leave a Reply